How to Sew Dresses for Beginners
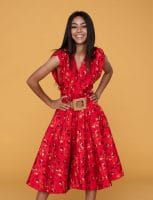
If you’ve just started sewing, you might be searching online for “How to sew dresses for beginners” information. For beginners who have just stepped into the world of sewing, a beautiful dress will be a great way to start. However, you might be confused about where and how to begin.
Even though dresses seem to be a challenging beginner project, you don’t have to be overwhelmed. With a bit of preparation and a systematic approach, you’ll get the job done. All you need to have is a simple design and a beginner-friendly fabric for your project.
That’s why we have prepared an easy-to-follow guide for all beginner sewists to get started on their first dress. Without further ado, let’s begin!

Table of Contents
🧵Preparation for how to sew dresses for beginners
If you break down the dress-making process into parts, your life will be easier. You can start taking sewing classes, watch video tutorials or get an instructor. However, you need to prep yourself first by following these simple steps.
3 Basic Tips for Dressmaking
The first step is to choose a pattern. You can find a variety of patterns for all different types of dresses at your local fabric store or online.
Once you have chosen your pattern, it’s time to gather your materials. You will need fabric, thread, a sewing machine, and a few other supplies.
Before you start cutting into your fabric, it’s always a good idea to do a test run with some scrap fabric. This will help you get a feel for the sewing process and make any necessary adjustments to your machine.
Once you’re ready to start sewing, follow the instructions on your pattern. Start by sewing the bodice of the dress, then move on to the skirt.
Don’t forget to add any closures, such as buttons or zippers, before you finish the dre
Tools For Sewing A Dress For a Beginner
The first place to start your sewing journey is to figure out the tools you need to sew the dress. Don’t worry, as we have sorted it out for you! You’ll need the following tools for your project –
- A sewing machine
- Sewing thread
- Needles
- Clips and pins
- Ruler
- Tape measure
- Seam ripper
- Pattern weights
- Scissors for cutting and trimming fabric
- Chalk for marking on your fabrics
Although this is not an exhaustive list, it’s enough to help you get going.
How we decide on what to buy:
Our goal is to help you find the best sewing resource for your requirements. We’ll do the legwork to ensure you get the most for your money, whether you’re shopping for high-end gear or the bare essentials. We consult experts, friends, and family members who are also sewists, teachers, and/or craftspeople; we scour the Internet for information on how sewing supplies are used; we read customer reviews by real users; and, of course, we rely on our own accumulated expertise as sewists, teachers, and/or craftspeople.
Know The Fabrics For Sewing Dresses For Beginners
Choosing the fabric is one of the essential steps in dressmaking. The type of fabric you select will decide how the final design is going to be. You can choose almost any kind of material for sewing, but for your convenience, try cotton fabric for smoother sewing, especially when you’re taking baby steps.
Let’s check out some common types of fabrics which beginner sewists can use.
- Silk – This is a lightweight and smooth fabric, having a delicate and luxurious touch to it. Although it works as an excellent lining fabric, it might be too slippery for some sewists.
- Rayon challis – This is another smooth and lightweight fabric that’s excellent for dresses having drapes. It’s a little heavier than other fabrics such as cotton lawn.
- Cotton lawn – This is a crisp, thin, and high-quality cotton fabric used primarily to design blouses and handkerchiefs. It’s also ideal for highly breathable summer dresses.
- Linen – It is medium-weight and is famous for being able to conduct heat well. So, it’s used for designing warmer clothing. Plus, it’s also very elastic.
- Wool – This is the most popular fabric for designing and stitching winter garments. It’s versatile, warm and you get a massive variety of choices.
Before you start working on the fabric, you have to clean and wash it. This step will help you remove any stains, dust, dirt, and wrinkles from the chosen fabric. After washing it, dry it out properly by using a hot iron and spreading it out on a flat surface.
Patterns And Measurements
After doing the initial groundwork, it’s time for some serious business! No, you’re still not ready to start sewing yet, because you don’t have a pattern. It will decide how your sewing journey will go and how the final outfit will look.
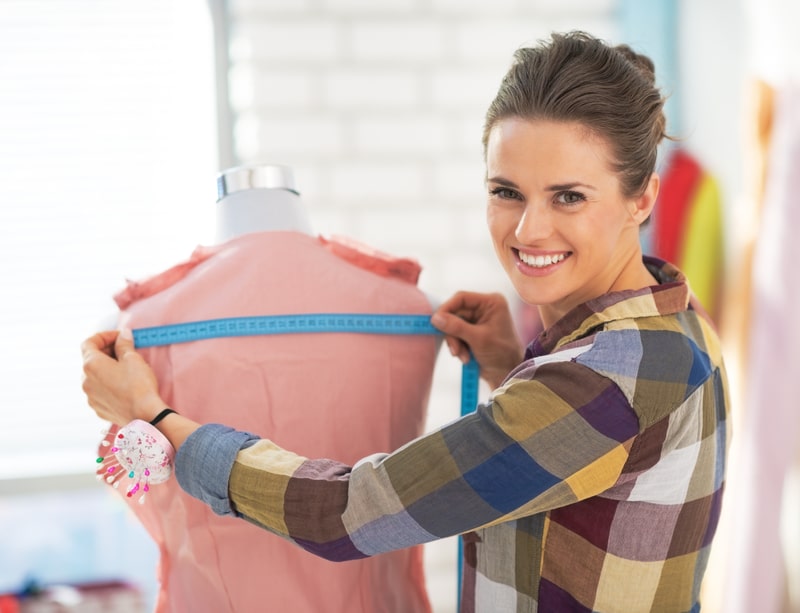
First, you need to take your measurements using tape. So, measure your waist, hip, and upper torso carefully. You can compare these measurements with pattern charts available online or if someone lends them to you.
You’ll also find patterns at stores selling sewing accessories. Finished garment measurements are excellent to get a better idea about fitting.
Buying A Sewing Machine
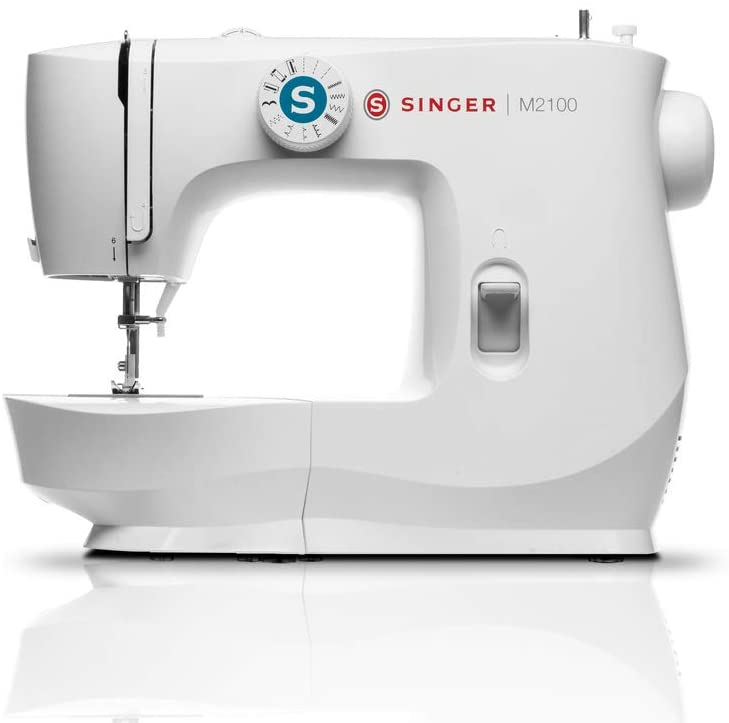
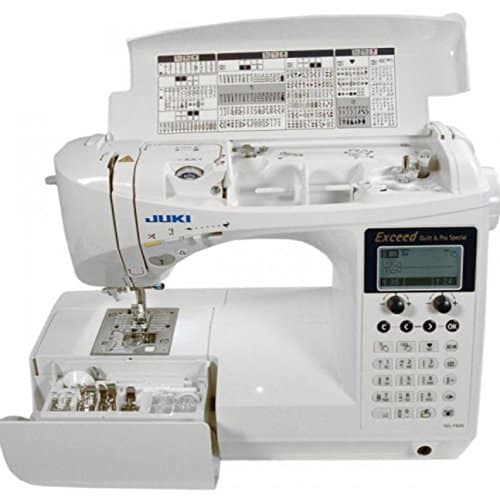
If you don’t have one, you need to get yourself a beginner’s sewing machine. Ask friends or relatives who are experienced sewists to give you advice on this. You can also visit a physical store or search online for the best sewing machine for beginners.
Be sure to buy something sturdy, convenient, easy to use, and lightweight. But don’t go for a cheaper machine, as it might not last long. Even if you’re a newbie, getting a high-quality machine is a smart option.
Don’t worry about serger or overlocks, as they are for a little more experienced sewists.
As a beginner, you must understand that you need only two stitches to accomplish everything – a straight stitch and a zig-zag stitch. So, make sure that the machine has these stitches included in it.
You’ll likely get buttonhole stitch, knit stitch, blind hem stitch, and a couple of utility stitches too.
Also, check out these features for having a fun and easy time while sewing –
- Automatic needle threader
- Automatic thread cutter
- A huge variety of in-built stitches
- Modifiable speed control
- Knee lifter
- Free arm
- Additional sewing space
- Foldable sewing desk
Device Types
When it comes to sewing machines, you can go for a computerized or a mechanical machine. Mechanical sewing machines are easy to handle and maintain. They are perfect if you’re on a budget and looking for a durable yet functional device. Furthermore, they are not too heavy.
Another option is a computerized sewing machine. These machines offer perfect stitches every time and are extremely easy to operate. Stitch selection, stitch length, buttonholes, and other adjustments are super easy with a computerized device.
Computerized machines have powerful motors and are very durable. However, these might be a little expensive for you, as it’s computerized and has a powerful motor.
Prepare the Pattern
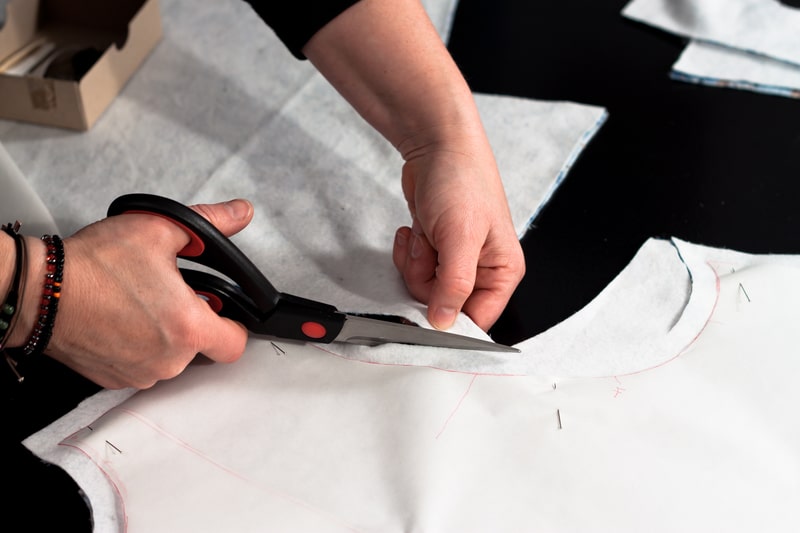
Now that you have gathered all the tools required to create your dress, it’s time to prepare the pattern. So, open your selected pattern and have a look at all the pieces needed for your dress. These pieces might include the dress’s front, back, neck facing, sleeves, and armhole areas.
You’ll probably get a list of all the pattern pieces required. Check the list to tick them off one by one. After that comes the real prep talk! Place your pattern pieces flat on the fabric and give them a quick press with a hot iron.
It will remove any creases or wrinkles on them and get them ready.
Prepare the fabric
The next step is to prepare the fabric on which you want to sew. So, just like the dress pattern, place it flat on the table and give it a good press to free it from any wrinkles. You may have to fold it in half, as instructed by your pattern.
Then, you have to place the pieces of the pattern on your fabric. Take note of any pieces that you have to put on the fabric’s fold. Also, make sure the design seems right. For example, if you have flowers or grass patterns, ensure that they are placed in the same direction.
Then, you can pin the pattern pieces on the fabric and get ready for cutting.
Cutting the fabric
If you haven’t pinned the pattern on the fabric, place it on the material. Then, get your scissors and start cutting the fabric by following the pattern lines. In case you’re using a dress for the pattern, place it on the material to trace an outline. You can cut along the traced lines.
As using a pattern is more convenient, we’re going to focus on that here. While cutting, you have to take care of the facings properly. There may be facings for the armholes and the neck regions. Moreover, the pattern can also have interfacing.
You can cut the interfacing and sew it back to the facings, as per your pattern instructions. No matter what you do, always make sure that all pattern pieces are positioned along the grain line.
Watch out for pieces that need to be cut on the fold. Just be careful but don’t stress it!
Sewing The Dress For Beginners
After going through many preparations, it’s finally time for the real action – sewing your dress! So, take your sewing machine, place the patterns and fabric under it and get to work. Follow the sewing instructions on the pattern.
Usually, most instructions will tell you to sew the sides of the fabric first. In case your pattern tells you to do something else, please do as instructed. You can fold the fabric inside out to sew it. A zig-zag stitch will be excellent to sew the dress’s front and the back.
You can use a top stitch to attach the seam to your dress’s body. This stitch will make the dress look professional and keep the fabric stay flat along the seam.
Let’s learn about these steps in more detail.
Sew The Zipper
You might think, why sew the zipper first? Sewing the zipper first will more convenient and hassle-free. It’s because after the front and back of the dress are stitched together, attaching the zipper will be difficult.
The simplest way to attach a zipper is to place it at the center of the fabric. Moreover, it looks neat too.
Sew The Seams
After getting your front and back ready, you can sew them to the shoulder seams. Check your dress pattern’s instructions to understand the seam allowances. It will help you to sew the seams properly to the main body of the dress.
As shoulders seams are very important parts of your dress, make sure you follow the instructions given in your pattern.
Attaching The Neckline
For beginners, go for a simple neckline by folding over ¼ inch of fabric at the edges of the fabric. Then, iron it properly to keep it flat. Using a straight stitch, sew the edges along the collar. This method will keep the edges in place and prevent them from flopping around.
Furthermore, you can adjust the depth of the neckline by measuring the distance of your bust from the waist. Adjust the clothing to get it right and just the way you like it.
Sew the hem
The process is similar to sewing the neckline. All you need to do is fold over ¼ inch of the material at the bottom of the dress and press it with an iron. Here, it would be best to use the straight stitch to sew the ends of the folded fabric together.
Take your time using the straight stitch here, as you don’t want to get the bottom hems wrong. You can get some assistance while doing it to prevent the hems from fraying.
Add Final Touches To Your Dress
You’ve made it to the final step! Congratulations! Now it’s time to add final touches or decorations to your beloved dress. It is your best opportunity for personalization, so don’t be shy of experimenting.
Add some ruffles, a trim, or a cute overlay to elevate the look of your dress to another level!
Stitching Methods For Sewing Dresses For Beginners
This section will include the advantages and disadvantages of the stitching methods discussed above. We’ll talk about straight stitching and zig-zag stitching here.
Method 1: Straight Stitching
Pros
- Easy to do for any beginner sewist as it’s pretty straightforward
- Straight stitching can be done on any sewing machine
- The final result is very smooth and neat
Cons
- As the resultant stitches are tiny, it’s difficult to unpick them later if you want
- It might not be easy to sew a very straight seam with this method
The Bottom Line
This stitch is probably the best technique you’ll ever need for all your sewing applications. It is stretch-resistant, efficient, and is an ideal technique for achieving a perfect fold line. Therefore, as a beginner, this is the first technique you should start learning.
Method 2: Zig-Zag Stitching
Pros
- This technique is way more decorative than straight stitching
- Easy to do and unpick
- Enables you to create a stretchy seam that can be elongated
Cons
- It might not work well with low-end sewing machines
- If you make a very narrow stitch, it might break if you pull the fabric
The Bottom Line
Apart from its stylish appearance, the zig-zag stitch is an excellent way to sea edges of fabrics. This technique will come in handy if you don’t own a serger to do so. Moreover, this is an ideal way to work and stitch stretchy materials.
Sewing Tips For Beginners
Ready to start sewing your masterpiece? Here are some quick tips that will help along the way and make it an exciting experience.
- Always take time to prepare your accessories you’ll need for sewing
- Have a separate pair of scissors for cutting and sewing the fabric. Please don’t use them for paper cutting!
- Start with a simple cotton print that won’t stretch or slip while sewing
- Understand the qualities of your fabrics before you start stitching on them
- Start with a simple sewing machine and avoid buying complicated devices as a beginner
- Make sure to change your sewing machine’s needle regularly to prevent it from damaging or breaking
- Besides the pattern measurements, use a ruler for cutting the cloth to get better at it
- Don’t forget to clean your sewing machine frequently to avoid too much lint and dirt
- Run some test stitches before working on the actual fabric to see if the needle is appropriate
Frequently Asked Questions
Do you still have some doubts regarding the topic “how to sew dresses for beginners?” Here are some of the most commonly asked questions and their answers. These will give you some more clarity while you prepare yourself to sew your first garment.
Do You Always Need A Pattern To Sew A Dress?
The answer is – not really. While sewing with a pattern may seem to be the easiest way to start sewing for newbies, it’s not the only way. You can also use a dress from your wardrobe as a reference for your project. Using this dress, you can cut the fabric even without using a pattern.
Do I Have To Maintain My Sewing Machine Regularly?
Whether you’re a beginner or an experienced sewist, you have to maintain your sewing machine to work correctly. So, make sure to remove the throat plate and clean the lint using a brush. Furthermore, you may also need to oil the machine so that it runs smoothly.
Most machines have a manual with maintenance details, so you’ll get more information from it.
Is Ironing Your Seams Important?
Yes, it is! Pressing your seams while you sew is vital to make them look fantastic and tailor-made. Using an iron on the seams will also give them a clean, crisp, and professional finish. Moreover, this step will keep your stitches secure to ensure that they last long.
Endnotes
Starting a new sewing project always gives you butterflies in your stomach, especially if you’re a newbie in this field. However, it’s not that difficult as it seems. With a little hard work and practice, you’ll be able to learn the tricks of the trade.
Remember that you might not get it right the very first time. So, keep trying and experimenting until you get it right. Watch online videos or get someone to help you while you’re sewing.
We hope that our guide will help you learn a lot about “How to sew dresses for beginners”. In no time, you’ll be well on your way to become a pro sewist!
