How to Easily Write on Fabric
Supplies
To write on fabric, you’ll need a few basic sewing essentials, including:
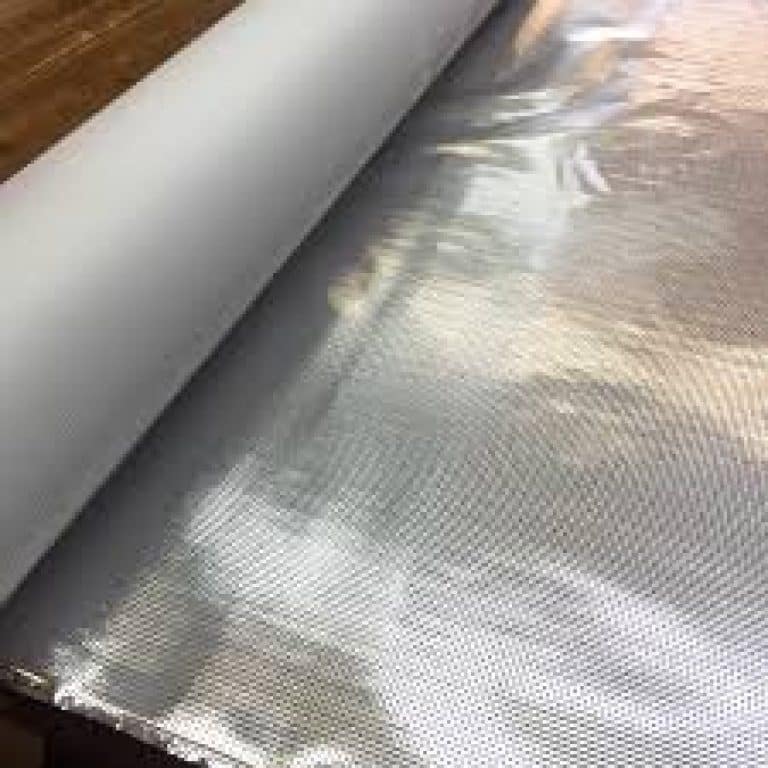
- Fabric (of course!); any type will work, including felt, fleece, burlap, or even satin.
- Fabric paint. We recommend fabric paints in a squeeze bottle. It’s easier to apply and your writing will come out a lot better than it would if you applied the paint with a brush.
- A sharpened pencil
- Paper
- Sewing tools, like a measuring tape (optional, but may come in handy)
- A piece of cardboard
Step 1
Lay your fabric out on a flat surface. Set the cardboard underneath the part of the fabric that you want to write on; this will prevent the paint from bleeding through the material and onto the opposite side of the material or the surface you are working on.
Step 2
Using a sharpened pencil, lightly sketch the design that you want to draw on your fabric. This will serve as a template of sorts for your fabric paint. You might want to practice writing your text or drawing your picture on a piece of paper first, but you don’t have to.
Step 3
With your fabric paint, go over the penciled design or text you’ve applied to the fabric. Use a slow, steady hand and even pressure when squeezing the bottle of fabric paint. If you squeeze too hard or are shaky, paint will likely squirt out too quickly and splatter on your fabric. Using slow, steady, and even pressure will prevent the paint from squirting out to quickly; it will also prevent splattering and air bubbles. Lightly touch the surface of the fabric with the tip of the squeeze bottle; you want the paint to make contact with the material, but you don’t want to scrape the fabric.
Continue using a steady hand and even pressure to slowly follow the design you’ve penciled on the fabric.
Step 4
Once you’ve finished writing, allow the paint to dry completely. Once it’s dry, check to see if you need to make any touchups. If you do, use the same process outlined above to fill in any spaces.


