How to Press Clothes
Supplies
Before you get started, gather the supplies you’ll need, including:
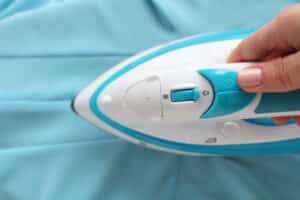
- An iron. Make sure it’s clean! The metal plate should be free of burn marks and rust, as they can destroy the material you’re ironing.
- An ironing board (make sure it’s covered with a heat resistant cover!)
- A spray bottle filled with fresh water
- Light starch (optional)
Pressing Tips
Once you have your supplies on-hand, set yourself up. Make sure the iron is on the proper setting; it should correspond with the fabric you are pressing. Different materials require different heat, so make sure you use the right setting on your iron! Let the iron warm up for a few minutes before you get started.
- To press a shirt, make sure the buttons are opened and begin with the sleeves. Work your way up from cuff to shoulder. Move to the collar; open it up, lie it flat on the ironing board, iron from end to end. Lastly, iron the back and front of the shirt.
- If they have creases, line up the seams on one leg and lay it flat on the board. Work your way up from the hem to the waist. Repeat with the other leg. If the pants don’t have creases, lay one leg flat on the board and press from the hem to the waist. Repeat with the other leg.
- Position the skirt so that the ironing board is “wearing” it. For straight skirts, iron from top to bottom, rotating as you complete a section. For a flared skirt, begin at the bottom. Iron each flare and work your way up to the waist. Rotate the skirt as you complete each section.
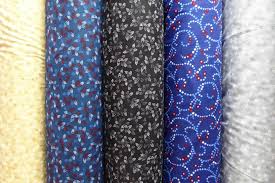
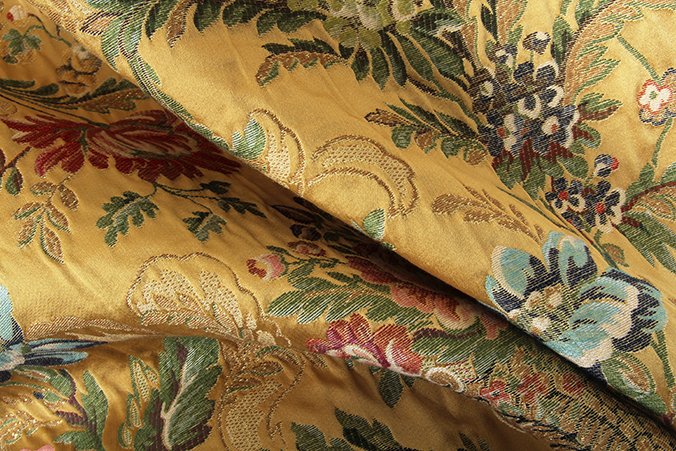
- Sewing fabric. Pressing a length of fabric is super easy. Just drape it on the ironing board and begin at the edge. Work your way up from top to bottom. As each section is complete, move the fabric until all of the material is pressed.
Pressing your clothing or sewing material is really easy. Once you get the knack for it, you’ll breeze through the task in no time.
Image: https://www.tillyandthebuttons.com/2016/01/ten-tips-for-pressing-your-sewing.html
