How to Attach Dress Boning
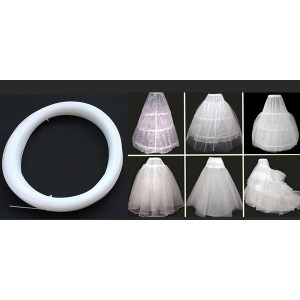
Table of Contents
Supplies
Gather the necessary supplies, which include:
- Fabric covered plastic boning. We prefer plastic boning to steel because it moves with you, whereas still isn’t meant to bend, and if it does, there’s a chance that it will snap, which could result in an injury. You also prefer pre-covered plastic boning, as you don’t need to make the casing, which save a lot of time and frustration.
- Thread that coordinates with the bodice of the dress
- A sewing machine
Steps
Now that you have the supplies, attach the boning to your dress using the following steps:
STEP 1
- Turn the dress inside out. Measure down from the top seam of the bodice down to the waist steam. If there isn’t a waist seam, measure to the point where you want the boning to come to an end.
STEP 2
- Measure and cut two pieces of the covered plastic boning so that it matches the measurements of the bodice.
STEP 3
- Remove the stiff portion from each piece of boning, but hold onto them.
STEP 4
- Pin the fabric casing of the boning onto the reverse side of the bodice where you want the boning to be located.
STEP 5
- Use a straight stitch to attach either side of the casing to the bodice.
STEP 6
- Insert the stiff portions of the boning back into the casing.
STEP 7
- Tread a hand sewing needle. Using an overstitch, close the top and bottom of the casing closed, securing stiff center inside the casing.
If you’d like to add boning to the sides and back of the dress, follow the same steps mentioned above.
Adding boning to a dress really is quite simple. After a few tried, you’ll be amazed how quickly and easily you can add structure to any gown.
