How to Sew Velvet
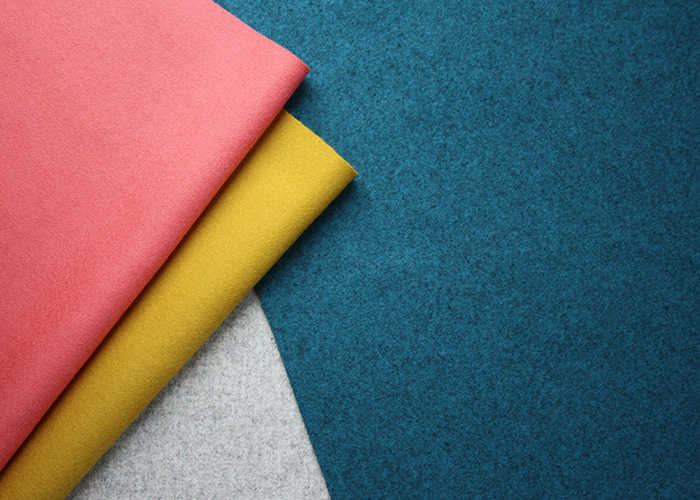
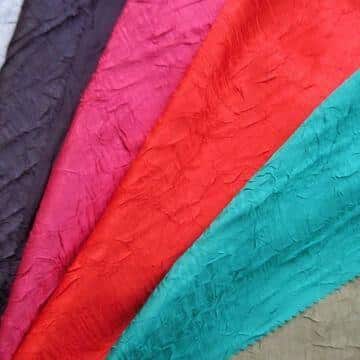
 Of all the different types of sewing fabric out there, velvet is definitely one of the most luxurious. It’s a pile fabric, which means it has a soft-hand (like chenille, suede, minky, faux fur, and other fabrics that have a fuzzy surface). The pile can vary from short to deep, but all velvet materials are plush and feel incredible against the skin. Velvet isn’t just soft, it’s also pretty durable; hence the reason why it can be used in so many applications; it’s often used as an upholstery fabric (just picture cuddling up on a sofa covered in velvet!), it can be used as drapery, and it’s often used in apparel (you could make a truly stunning gown with velvet fabric and a dress form).
Marking and Cutting Velvet
Just like any other type of material, there aren’t any definitive rules regarding how you should mark and cut velvet. However, we recommend making your markings on the opposite side of the pile; we also suggest the same for cutting.
Marking on the opposite side of the material prevent any marks from being seen on the nap side (the side you want to be visible). Cutting the material with the pile facing down helps to maintain the integrity of the pile, which means the finished product will look better.
Adding Seams in Velvet
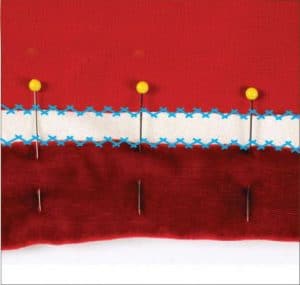
Sewing a seam in velvet is actually a lot easier than it appears. To really simplify the process and significantly reduce the risk or errors, we suggest applying a temporary adhesive spray along the seam line on the pile side of the material. Next, set the pile side of the matching piece of material on the seam line that you have applied the spray adhesive. Sew a straight line where the two pieces meet up to create a seam.
Sewing Tips
While the pile is what makes velvet so soft and luxurious, it’s also what makes it so difficult to sew. It tends shift as your sewing, which can make it difficult to keep the pieces in line and to simply sew a straight line in the material. The following tips can make sewing velvet a bit easier:
- As you’re sewing, pull the material tight
- Try placing a stabilizer or tissue paper between the layers of the material to prevent slippage
- Loosen the tension on your sewing machine
- Use 70/10H or 80/12H needles
- Opt for thread that is made of 100 percent silk or cotton
- Always sew in the direction of the pile; never sew in the opposite direction
With these tips (as well as some patience and practice), you’ll be able to create some stunning velvet pieces in your sewing room.
image: https://www.threadsmagazine.com/2009/11/17/how-to-sew-velvet-like-a-pro


